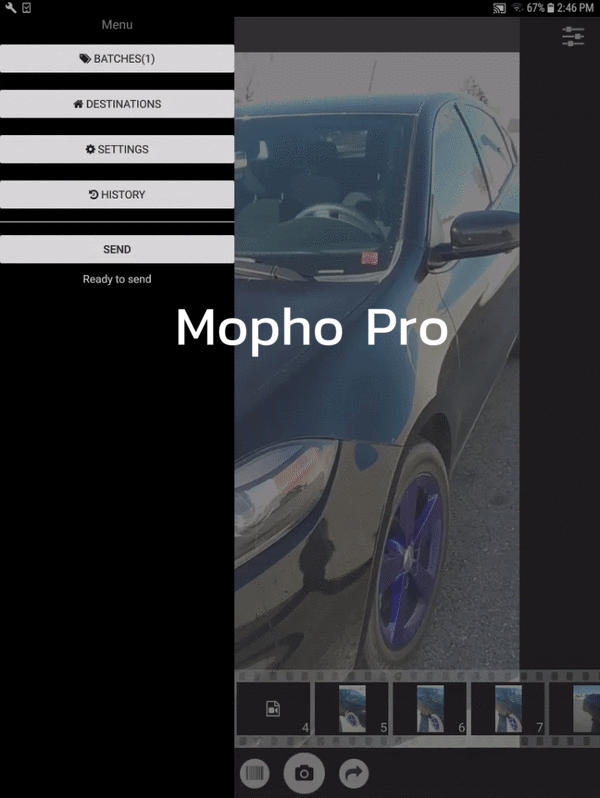
This guide covers the basic functionality of MoPho Pro, click any of the training buttons to reveal links to detailed processes.
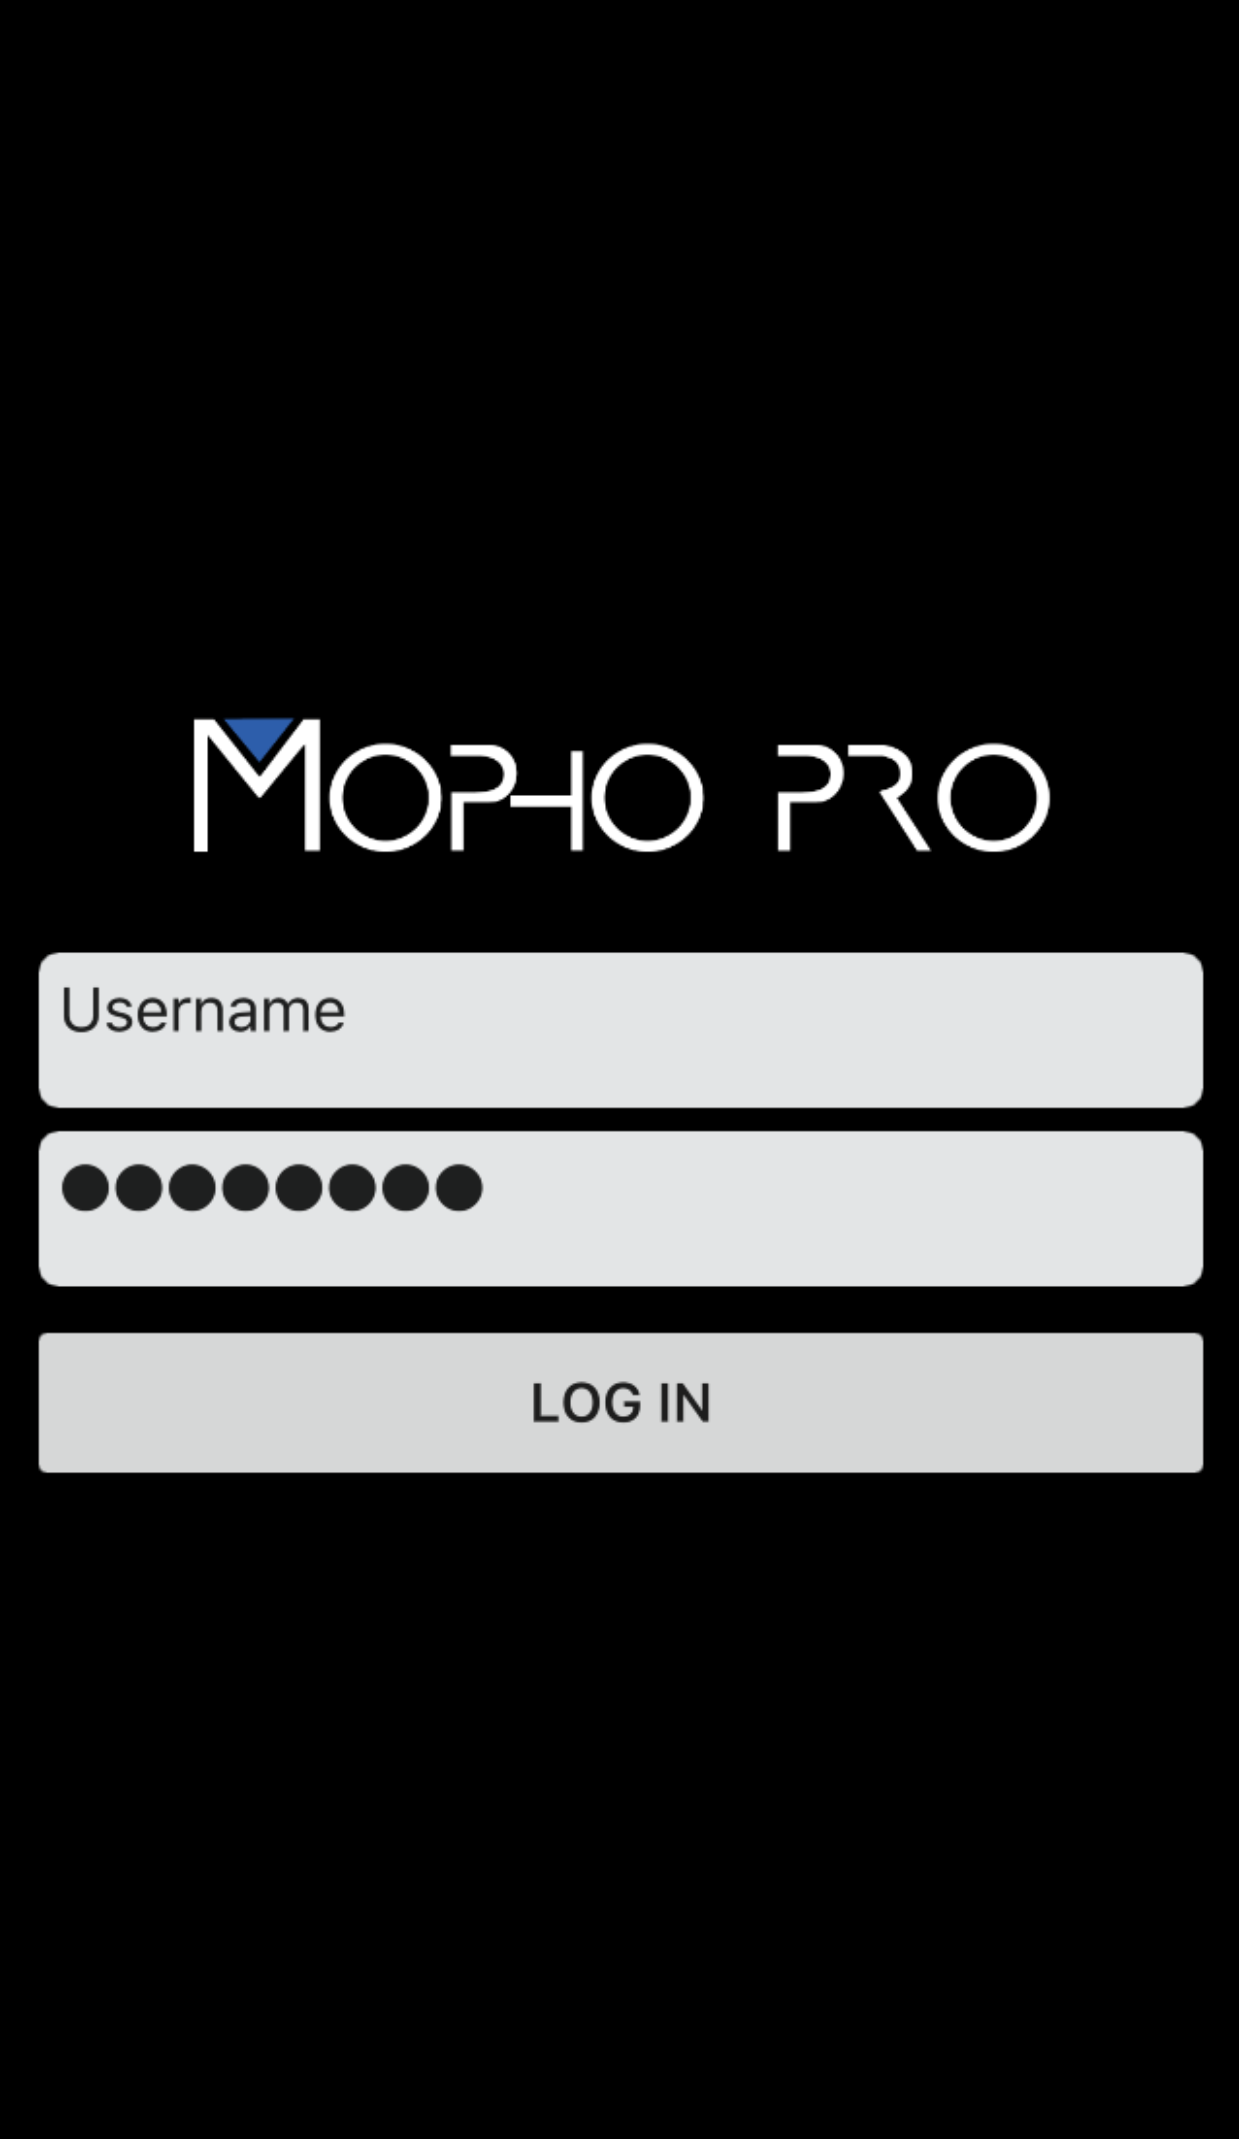
When you open MoPho Pro for the first time you will be prompted for your username and password, this will be provided for you by SummitCRS Support upon installation of MoPho Pro. This login process will download your category and destination settings. Internet access is required.
**Note: Your device needs to have internet access in order to login**
- Tap the username box and enter the provided username.
- Tap the password box and enter the provided password.
- Complete by tapping the Log In button, if your login fails re-enter the credentials. Upon third failure, contact SummitCRS Support for assistance.
Instructions
With MoPho Pro's multi-destination support your user may want to set a default upload destination to avoid misselection in the share screen.
**Note: Destinations are set up by SummitCRS Support, if you are needing additional destinations contact SummitCRS Account Services**
- From the main MoPho Pro screen tap the , or swipe your finger from the left of the screen to the right.
- Tap the Destinations button
- Tap the desired default destination as indicated by the
- Tap the located in the top right of the screen to complete the selection.
Instructions
MoPho Pro's settings allow the user to adjust server timeout and the length of history recorded. Users will also find the app version number here as well as the Sync button which syncs category and destination information from the MoPho Pro server.
- From the main MoPho Pro screen tap the , or swipe your finger from the left of the screen to the right.
- Tap the Settings button.
Instructions
- Decrease the Timeout or History by clicking the .
- Increase the Timeout or History by clicking the .
The Sync button has MoPho Pro sync with the MoPho Pro server to ensure the most up to date destination and category settings.
**Note: Your device needs to have internet access in order to sync.**
- From the main MoPho Pro screen tap the , or swipe your finger from the left of the screen to the right.
- Tap the Settings button.
- Tap the Sync button.
Instructions
The History screen shows the last thirty successful uploads from your device. Your history length can be increased or decreased in the settings tab. Upload History includes Batch/Estimate number, destination information and number of files sent.
- From the main MoPho Pro screen tap the , or swipe your finger from the left of the screen to the right.
- Tap the History button.
Instructions
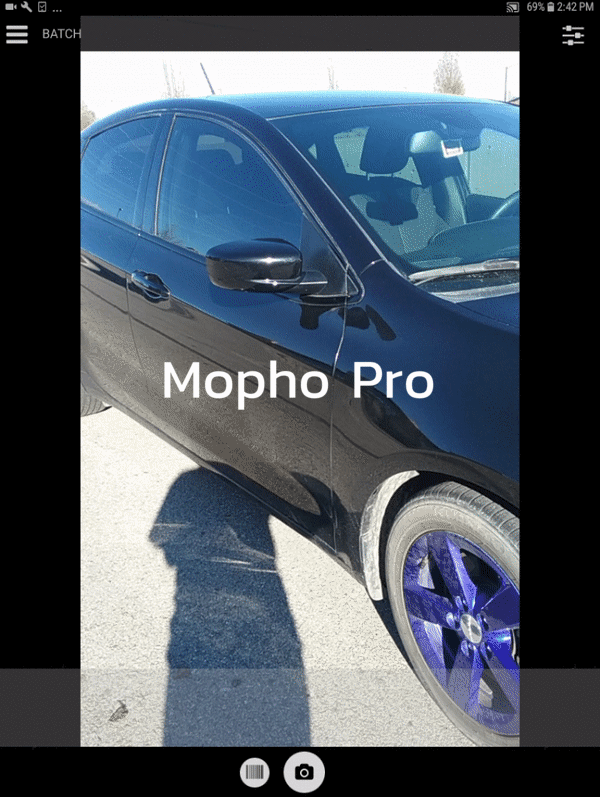
Like most Camera apps, MoPho Pro is a point-and-shoot application with optional zoom capabilities.
**Note: Digital Zoom will reduce the quality of the captured image.**
- Use the MoPho window to line up your shot
- Tap the to Capture the image.
Instructions
- Zoom In by taking two fingers in a together position and move out from the center
- Zoom Out by taking two fingers and bring them together from the outside in.
MoPho Pro features brand new HD Video capture capability.
**Note: Digital Zoom will reduce the quality of the captured image.**
- Use the MoPho window to line up your shot
- Press and hold the to start video capture.
- The video timer will appear in the top left of the image screen and then you can release the icon.
- To stop recording simply tap the icon.
Instructions
- Zoom In by taking two fingers in a together position and move out from the center
- Zoom Out by taking two fingers and bring them together from the outside in.
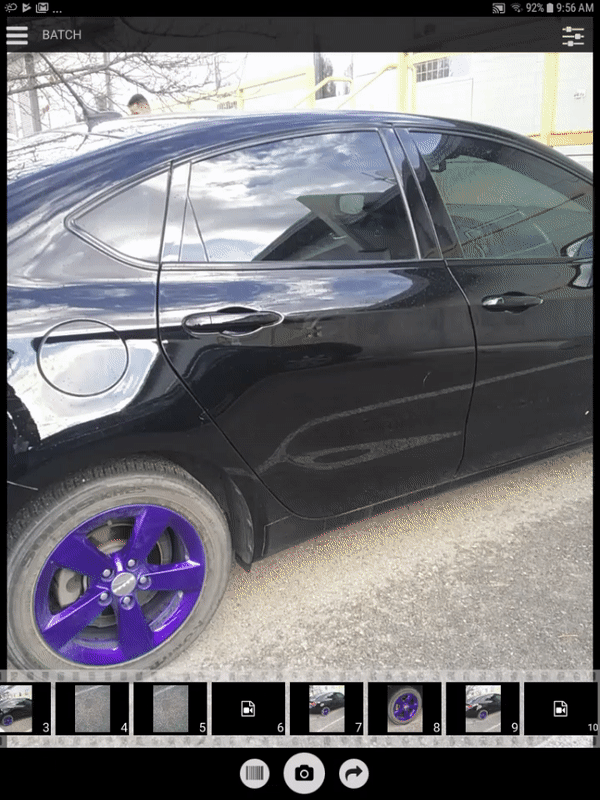
MoPho Pro allows you to review and delete your images before ever sending them to your media server.
**Note: Deleted images and video can not be recovered once removed.**
- Select the desired batch.
- Locate your image in the film strip at the bottom of MoPho Pro.
- Press and hold on the desired image until the preview screen opens.
- Review the image or delete it by tapping the icon.
Instructions
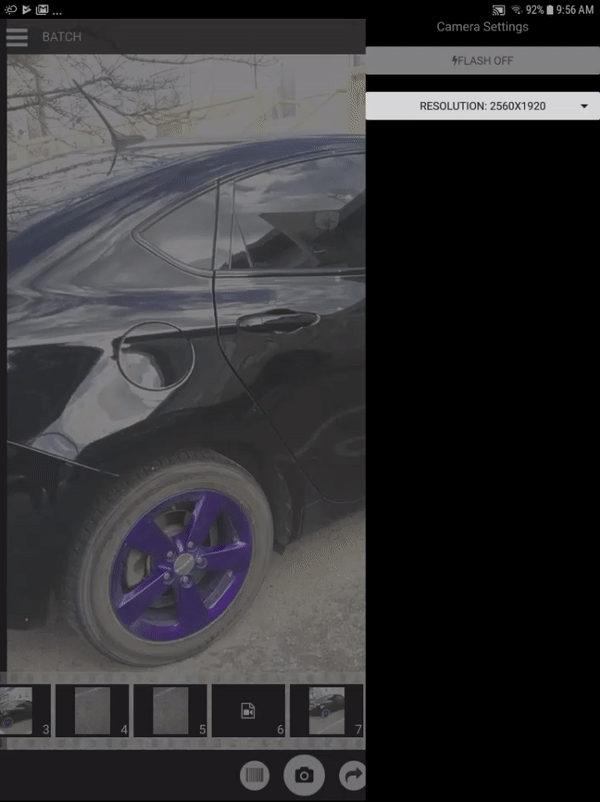
MoPho Pro allows the user to select the resolution of the images they are capturing. Select from the highest resolutions to the lowest that all meet insurance standards.
**Note: Larger image resolution means larger media file sizes.**
- To open the camera settings menu you can swipe from right to left from the right edge of the screen. Alternatively you may hit the located in the top right of MoPho Pro.
- Tap the Resolution drop down to reveal available resolutions.
- Tap the desired resolution from the list, the collapsed list should display your selected resolution.
Instructions
MoPho Pro provides us with the ability to use the camera flash.
**Note: Only with devices that feature a flash.**
- To open the camera settings menu you can swipe from right to left from the right edge of the screen. Alternatively you may hit the located in the top right of MoPho Pro.
- Tap the Flash button to turn the flash on or off
Instructions
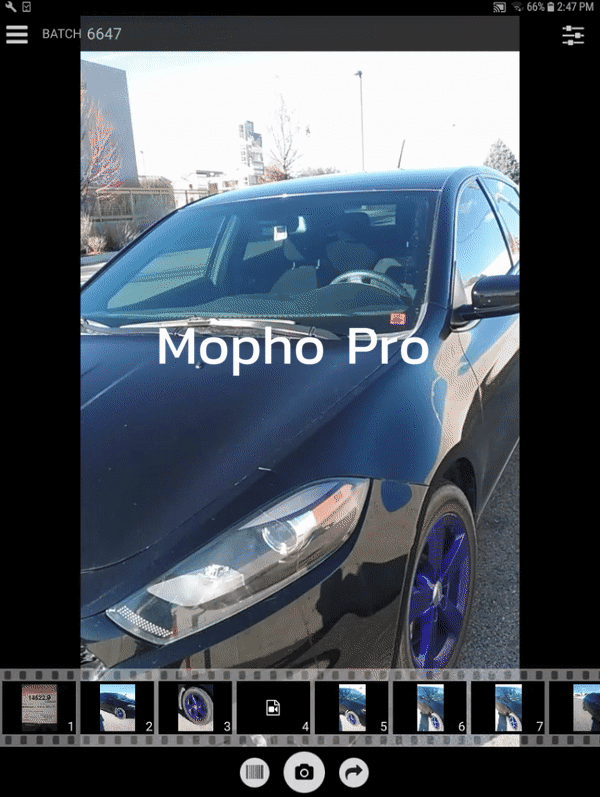
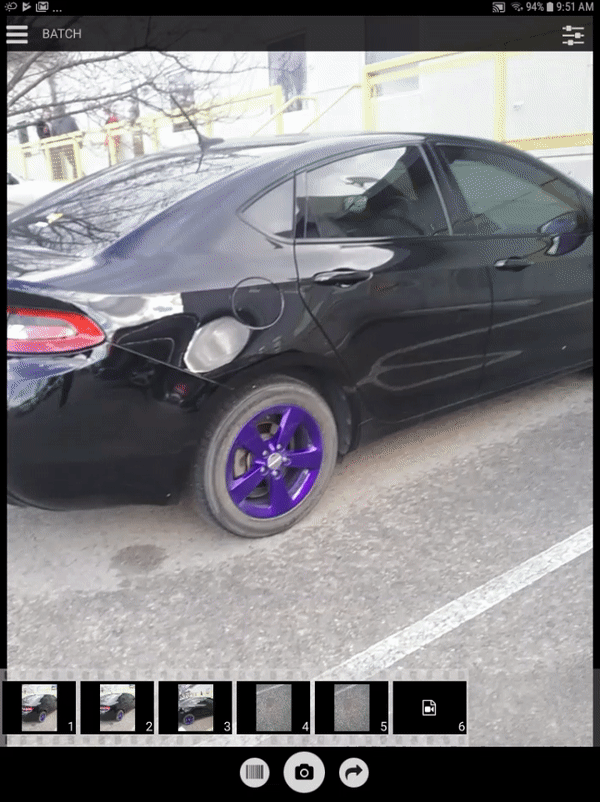
MoPho Pro introduces batching which allows the user to save multiple RO batches.
- Once you have some images captured we can save our batch.
- If your shop utilizes the Vehicle ID Sheet you will scan the barcode to acquire the estimate ID.
- Tap the Share button to bring up the share screen.
- Verify the Destination and select Category if necessary.
- If your shop does not utilize the Vehicle ID Sheet, then manually enter your estimate ID for the folder #.
- Save your batch by tapping the icon.
Instructions
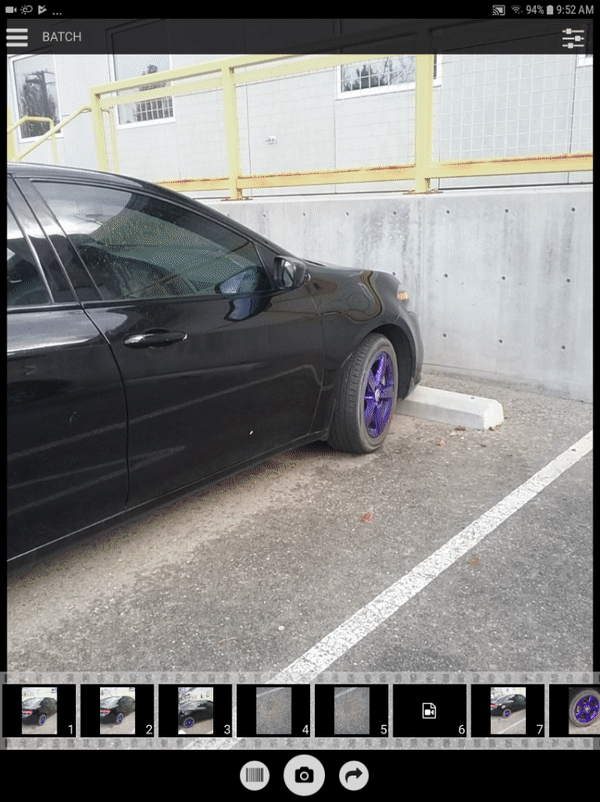
MoPho Pro introduces batching which allows the user to save multiple RO batches and review them later to add more or less.
- From the main MoPho Pro screen tap the , or swipe your finger from the left of the screen to the right.
- Tap the Batches button to bring up the batches screen.
- Tap the desired batch.
Instructions
- With the batch selected the user can add more images/video, review existing captures, and delete images.
- When review is complete the user can upload the batch or save it to be uploaded later.

MoPho Pro allows us to save image batches to our devices and send them when we choose to. Follow the steps below to upload your batches.
- From the main MoPho Pro screen tap the , or swipe your finger from the left of the screen to the right.
- Tap the Send button to upload all queued batches
Instructions
- You can review what batches are queued to send by hitting the Batches button. Items with a blue clock to the right are queued for upload.
MoPho Pro allows us to save image batches to our devices and send them when we choose to, follow the below steps to upload your batches.
- From the main MoPho Pro screen tap the , or swipe your finger from the left of the screen to the right.
- Tap the Send button to upload all queued batches
Instructions
- You can review what batches are queued to send by hitting the Batches button, items with a blue clock to the right are queued for upload.
MoPho Pro features a barcode scanner which allows Summit users to scan the barcode from the vehicle id sheet in summit.
- Wtih images captured the bacrode Icon will appear.
- Tap the barcode button
- Scan your barcode off the vehicle id sheet
Instructions
- The estimate id number should populate at the top of the screen next to the word Batch.